Welcome To Hadhuub

If you’re looking for an efficient and reliable way to receive payments from clients and businesses around the world, then Payoneer account registration is the first step. In today’s global marketplace, having a secure, versatile platform to manage international payments is crucial for freelancers, business owners, and online sellers. With Payoneer, handling cross-border payments becomes seamless, affordable, and incredibly convenient.
Whether you’re a freelancer on Fiverr, an e-commerce seller on Amazon, or an affiliate marketer earning commissions, Payoneer makes receiving global payments a breeze. This step-by-step guide will walk you through the Payoneer account registration process so you can start managing your payments with ease.
Why Use Payoneer?
Before we jump into the Payoneer account registration, let’s look at why this platform is such a powerful tool for global transactions. There are several reasons to consider Payoneer as your go-to payment solution:
1. Low Transaction Fees
Nobody likes seeing their hard-earned money eaten up by high fees. With Payoneer, transaction fees are significantly lower compared to traditional banking methods and some other payment services. This means more of your earnings stay in your pocket.
2. Multiple Currencies, One Account
With Payoneer, you don’t need to open multiple accounts in different currencies. You can receive payments in currencies such as USD, EUR, GBP, and more—all in a single Payoneer account. This is a game-changer for freelancers and businesses dealing with international clients.
3. Trusted by Major Platforms
Payoneer integrates with some of the biggest platforms in the world, such as Fiverr, Amazon, Upwork, and Airbnb. This makes it incredibly easy to receive payments from these platforms without extra setup or fees.
4. Easy Bank Transfers
Payoneer allows you to withdraw your funds to your local bank account in over 150 countries. You can easily convert your Payoneer balance into your local currency with competitive exchange rates.
5. Prepaid Payoneer Mastercard
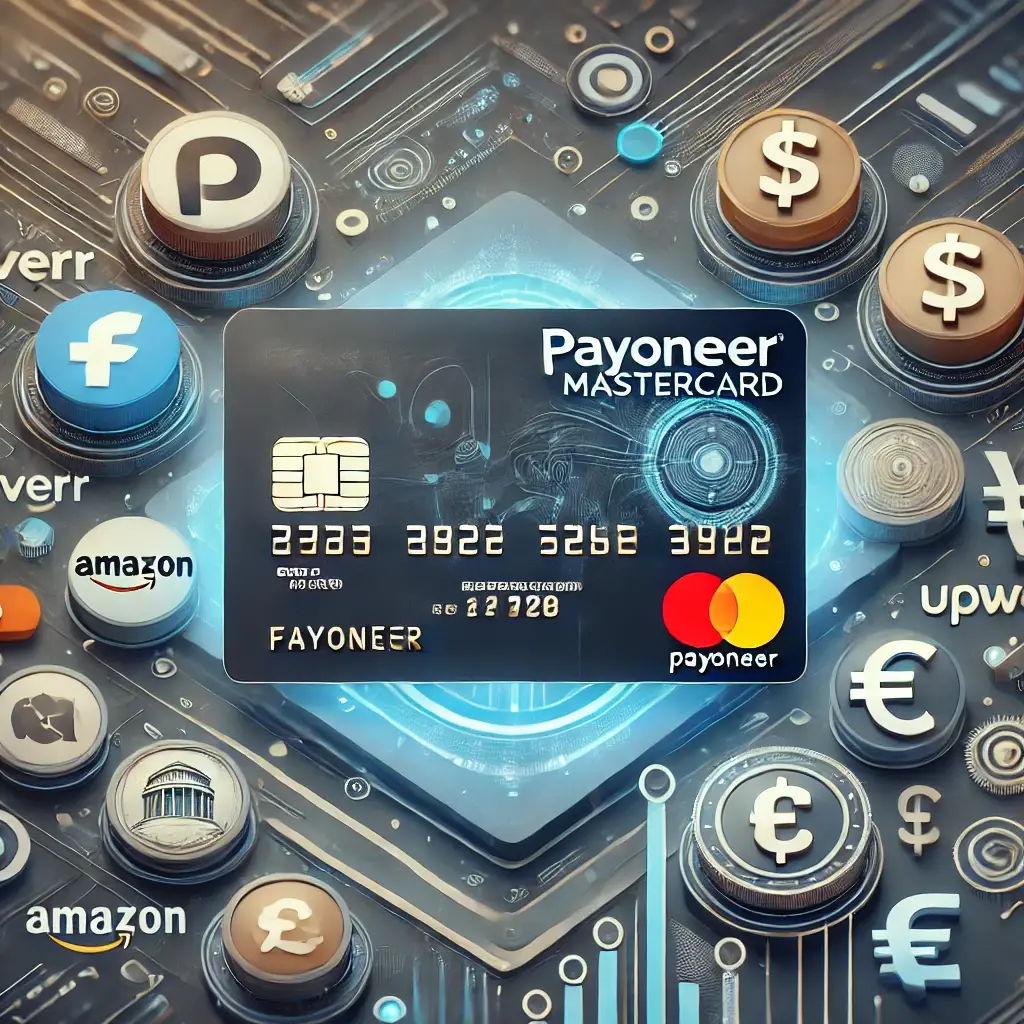
For instant access to your funds, Payoneer offers a prepaid Mastercard, which can be used for online shopping, in-store purchases, or ATM withdrawals anywhere Mastercard is accepted. This is especially handy for business owners or freelancers who need immediate access to their earnings.

6. Global Payment Service
Payoneer’s Global Payment Service (GPS) gives you local receiving accounts in the U.S., Europe, U.K., and Japan, allowing you to receive payments as if you had local bank accounts in those regions. This is a massive benefit for businesses or freelancers working with international clients.
How to Register for a Payoneer Account: Step-by-Step
Now that you know why Payoneer is a top-notch payment platform, let’s walk through the Payoneer account registration process so you can start receiving payments quickly.
Step 1: Visit Payoneer’s Website
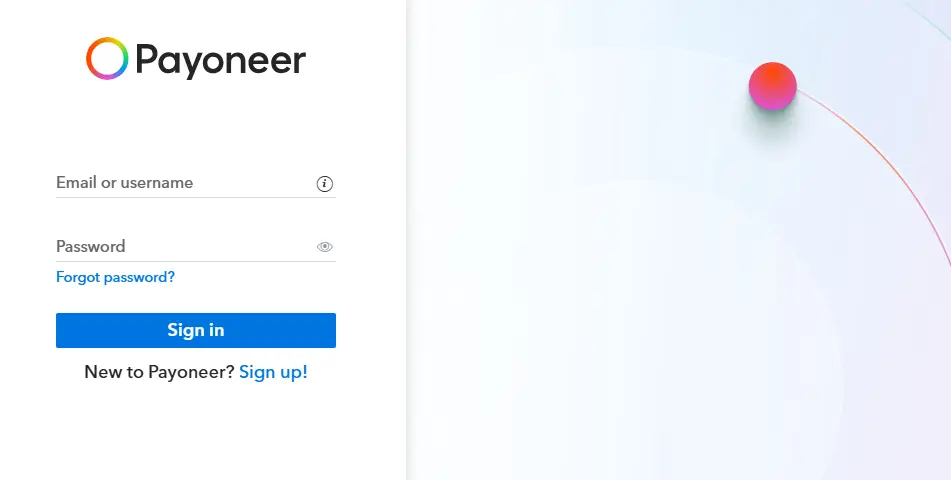
Go to Payoneer’s official website and click on the Sign Up button. You’ll be taken to a registration page where you can begin the process.

Step 2: Choose the Type of Account
Payoneer offers different account types, including options for freelancers, businesses, and affiliate marketers. Choose the one that best describes your business model to customize your experience.
Step 3: Enter Personal Information
Fill in your personal details such as your name, email, and contact information. Be sure to provide accurate information, as Payoneer will use this for identity verification later on.
Step 4: Provide Bank Account Information
Next, enter your local bank account information where you’d like your payments to be deposited. Double-check this information to avoid any delays or issues with receiving payments.
Step 5: Upload Identification
Payoneer requires a government-issued ID for verification. You can upload a passport, driver’s license, or national ID. Make sure your documents are clear and valid to ensure smooth processing.
Step 6: Account Approval
Once your details are submitted, Payoneer will review your application. Approval can take a few hours to a couple of days, depending on your location. Once approved, you’ll receive an email notification, and you can start using your account immediately.
Tips to Ensure Smooth Account Approval
Here are a few tips to help you avoid any issues during your Payoneer account registration:
- Accurate Details: Ensure that the personal details you enter match your identification documents to avoid delays in verification.
- Clear Documents: Make sure the ID you upload is clear, legible, and not expired. Blurry or invalid documents may result in rejection.
- Correct Bank Info: Double-check your bank account number and currency to avoid issues when withdrawing funds.
How to Start Using Payoneer
After your Payoneer account registration is complete, you can start receiving payments in various ways. Here’s how you can use Payoneer depending on your business model:
Freelancing Platforms
If you’re a freelancer on sites like Fiverr or Upwork, link your Payoneer account to your profile. Your earnings will automatically be transferred to your Payoneer account after completing a job.
Online Marketplaces
For online sellers, Payoneer works with platforms like Amazon, Walmart, and eBay. Connecting Payoneer to these platforms allows you to receive payouts easily in your preferred currency.
Affiliate Networks
Affiliate marketers can connect Payoneer to networks such as CJ Affiliate, Impact Radius, and others, making it easy to manage payments from various programs.
Conclusion
Signing up for Payoneer opens the door to hassle-free global payments, whether you’re a freelancer, an online seller, or an affiliate marketer. By following this Payoneer account registration guide, you can get started in just a few minutes and enjoy lower fees, multiple currency options, and seamless integration with major platforms.
Ready to simplify your payment process? Start your Payoneer account registration today and unlock global payments for your business.

